Recent Post

Best Portable Pull Up Bar Guide: Top Picks and Buying Tips

Compact Home Gym Ideas: Space‑Saving Solutions for Every Apartment

Is whey isolate dairy free? A clear guide to understanding whey protein and dairy concerns

How to Choose Adjustable Dumbbells: A Practical Step‑by‑Step Guide

Lactose Free Whey Isolate Protein Powder: Complete Guide to Choosing, Using, and Benefits

20 minute dumbbell workout for beginners: Simple Full‑Body Routine
Leave a comment
How to Choose Adjustable Dumbbells: A Practical Step‑by‑Step Guide
Ever stood in the aisle, staring at a rack of adjustable dumbbells and thought, “Which one actually fits my life?”
If you’ve ever tried to squeeze a bulky set into a tiny apartment or needed something that travels to a client’s gym, you know the frustration. The good news is, picking the right pair isn’t rocket science – it’s about matching a few key factors to your everyday routine.
First, think about the weight range you actually use. In our experience, most home‑based fitness enthusiasts bounce between 5 lb and 30 lb for full‑body circuits, while personal trainers who program strength sessions for multiple clients often need a max of 50 lb or more. A dumbbell set that caps at 20 lb will feel limiting once you start adding reps or trying heavier lifts.
Second, consider the adjustment mechanism. Some models twist a dial, others use a slide‑in pin, and a few click a selector lever. The dial‑type feels smooth for quick weight changes between supersets, but the pin‑style tends to be more rugged for high‑intensity workouts where you might drop the weight a few times.
Third, pay attention to ergonomics. Grip diameter, handle texture, and balance affect how comfortable the dumbbell feels during a 12‑minute HIIT burst or a slow rehab curl. If you’re a physiotherapist working with shoulder rehab, a slightly thicker grip can reduce strain on the wrist.
Space constraints matter, too. A compact, 4‑in‑1 system can replace a whole rack, freeing up a corner of your living room. That’s a game‑changer for anyone living in a condo or traveling with a portable gym bag.
Lastly, durability and warranty should factor into your decision. A well‑built steel frame with a solid coating will survive years of sweat and accidental drops, and a solid warranty gives you peace of mind.
So, how to choose adjustable dumbbells? Start by listing the weight range you need, test the adjustment feel, check the grip comfort, measure the space you have, and make sure the build quality backs up your investment. Once you line up those criteria, the right set practically picks itself.
TL;DR
Choosing the right adjustable dumbbells boils down to matching weight range, grip feel, and space to your daily routine and training goals.
Follow our quick checklist—define the max weight you need, test the adjustment mechanism, feel the handle, and verify the footprint—so you never waste time or money again today.
Step 1: Define Your Fitness Goals and Training Style
Before you even look at a dial or a pin‑type adjustment, ask yourself what you actually want to get out of the weight room. Are you chasing a bigger bench press, trying to tone your arms for a summer shirt, or rehabbing a shoulder after physio? That little moment of recognition is the compass that keeps you from buying a set that feels either too light or impossibly heavy.
Think about the three big goal buckets most of our clients fall into: pure strength, functional endurance, and rehab/mobility. If your main aim is raw strength, you’ll eventually need a max that tops 40‑50 lb per dumbbell. For HIIT‑style circuits, a lighter range—maybe 5‑25 lb—lets you switch weights on the fly without killing the flow. And if you’re a physiotherapist guiding a client through rotator‑cuff work, you might never exceed 12 lb, but you’ll value a smooth, secure lock‑in above all.
Now layer in your training style. A bodybuilder who spends 45 minutes on isolated lifts will appreciate a dial‑adjustment that clicks into place with a single turn, because you’ll be swapping from 15 lb curls to 30 lb flyes in between sets. A CrossFit‑oriented trainer who tosses dumbbells into the air during AMRAPs might prefer a rugged pin‑system that can survive a few accidental drops. And if you’re doing rehab, a knob that never rattles and a handle that feels stable even at the lowest weight is worth its weight in gold.
In our experience, the sweet spot for most Canadian home gyms is a set that spans at least 5‑30 lb with a quick‑change mechanism, and that folds neatly into a corner. You can see a curated selection that hits those marks in our dumbbell collection. Browsing the range helps you visualise how the grip size, balance, and adjustment style will feel during your favorite moves.
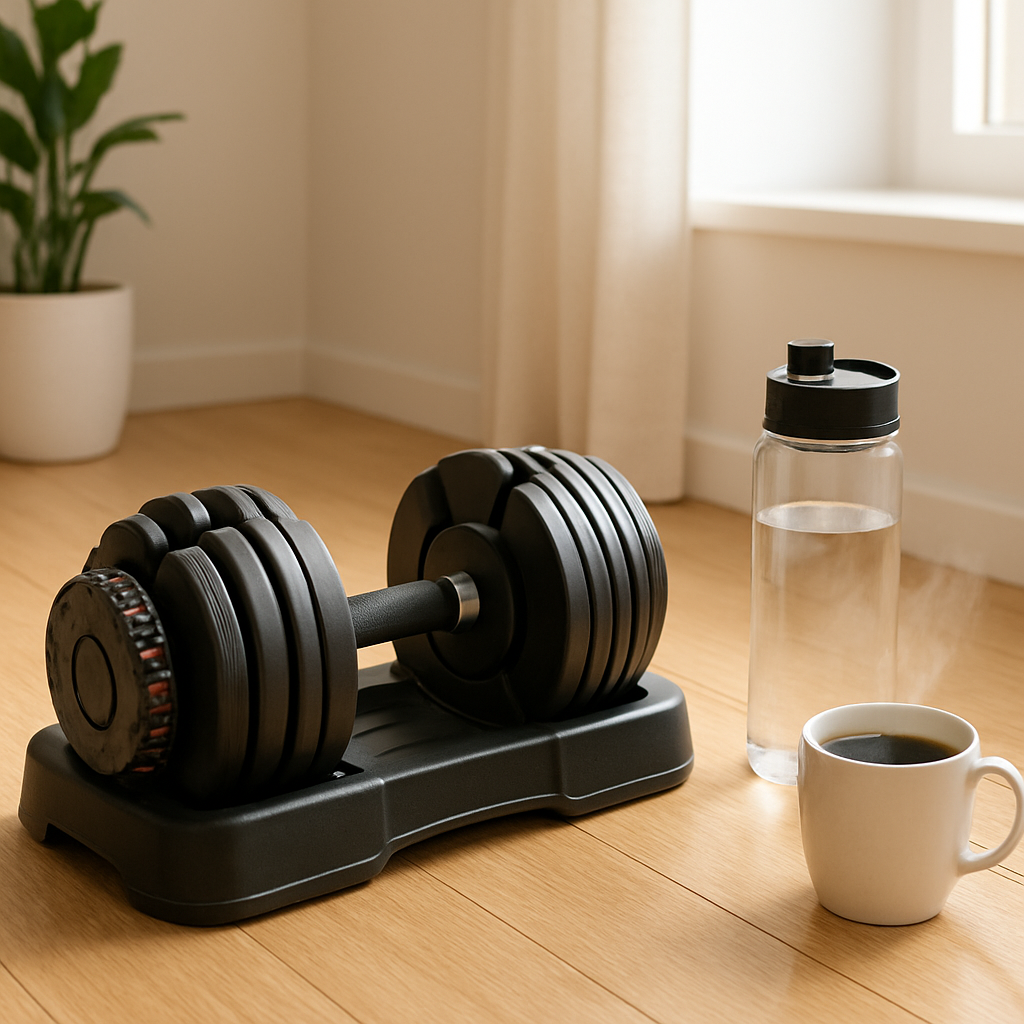
It’s also smart to think about the bigger picture of health. Pairing the right dumbbells with solid hydration habits can boost performance and recovery. Healthier Lifestyle Solutions offers a concise guide on how water timing influences strength gains, and it’s a quick read you can bookmark while you’re planning your next purchase.
Here’s a short video that walks through the key factors you should weigh when mapping your goals to a dumbbell system:
After watching, take a moment to write down three specific outcomes you want from your training—like “add 5 lb to my dumbbell bench in 6 weeks” or “reduce shoulder pain during overhead presses.” Those concrete targets will steer you toward the right max weight and the most convenient adjustment method.
Don’t forget the role of water. Proper hydration before, during, and after a strength session can shave seconds off your rest periods and help you keep proper form. FoodieCal’s hydration timing guide breaks it down in a way that’s easy to slot into your workout calendar.
Finally, a little pre‑workout boost can make those early‑morning sets feel less brutal. Many of our trainers swear by a smooth, caffeine‑rich brew to fire up their nervous system. If you’re curious, check out Chilled Iguana Coffee Co. for a coffee that’s roasted for clarity without the jittery crash—perfect for powering through those last reps.
With your goals crystal‑clear, your training style mapped out, and a few ancillary habits in place, you’re ready to move on to the next step: testing the adjustment mechanism itself. Remember, the right dumbbells are the ones that fit your life, not the other way around.
Step 2: Identify Required Weight Range and Increment Steps
Now that you’ve nailed down your goals, the next puzzle piece is figuring out exactly how much weight you’ll actually need, and how finely you want the increments to move.
First, ask yourself: what’s the heaviest load you’ll ever realistically lift? If you’re a physiotherapist prescribing rehab curls, you might never go above 12 lb per side. If you’re a personal trainer who runs full‑body strength circuits for clients, you’ll probably need a max of 45–50 lb to keep the challenge alive as they progress.
Here’s a quick worksheet you can print out:
- Current max weight you can lift for 8–12 reps (per dumbbell).
- Projected max weight in 3‑6 months (think of how fast you plan to add strength).
- Desired increment size – 2.5 lb, 5 lb, or 10 lb steps.
Plug those numbers into a simple formula: Target max ÷ smallest increment = number of steps you’ll need. If you aim for 45 lb max and love 5‑lb steps, you’ll cycle through nine settings (5, 10, 15… 45). That tells you whether a 4‑in‑1 system with nine slots is enough, or if you need a model that offers more granularity.
Why does the increment size matter? Imagine you’re doing a supersets routine where you drop from 30 lb to 20 lb in a blink. A 5‑lb step feels natural, but a 10‑lb jump can leave you scrambling for a new set or compromising form. On the other hand, ultra‑fine 2.5‑lb increments are a blessing for rehab or beginner programs, letting you progress without overshooting the sweet spot.
Real‑world example: Alex, a freelance trainer in Toronto, started with a 5‑in‑1 set that only offered 5‑lb jumps up to 35 lb. After three months, his clients were outgrowing the top weight, and he had to buy a second set – doubling his cost and clutter. He switched to a system that provides 2.5‑lb steps up to 45 lb, and now he can fine‑tune each client’s load without extra equipment.
Another scenario: Maya, a yoga teacher who incorporates light strength work for mobility, prefers a 2.5‑lb increment range that caps at 22.5 lb. She never needs the heavier plates, and the smaller steps keep her sessions feeling smooth and safe.
Now, let’s talk data. A 2023 survey by the American Council on Exercise found that 68 % of home‑gym users stick to three‑to‑four weight settings for at least six weeks before adding more. That suggests most people don’t need a massive weight span right out of the gate – a well‑chosen range and sensible increments will cover the majority of their progression.
So, how do you translate those numbers into a buying decision?
Actionable checklist
- Write down your current and projected max weight.
- Decide on the smallest increment that feels comfortable for your training style.
- Divide the projected max by that increment – the result tells you the minimum number of settings you’ll need.
- Match that number to a dumbbell model’s spec sheet. Look for phrases like “5‑in‑1, 9‑step” or “4‑in‑1 with 2.5‑lb increments.”
- Confirm the total weight capacity meets or exceeds your projected max.
If you’re still unsure, PowerBlock’s comparison guide breaks down each model’s weight span and step size in a handy table – a useful reference when you’re balancing space, budget, and future growth compare PowerBlock adjustable dumbbells.
And because we know you like to see the gear in action, here’s a short video that walks through how the dial‑type and pin‑type mechanisms feel when you add or remove plates. Watch the demo, then picture yourself swapping from 15 lb to 20 lb mid‑circuit.
Take a moment after the video to note whether the adjustment feels intuitive. If the dial clicks into place with a light tap, you’ll probably love it for fast supersets. If the pin slides and locks with a firm push, that’s the kind of confidence you want for heavy‑day lifts.
Bottom line: pinpointing your required weight range and the increment steps that match your training rhythm is the bridge between “I need dumbbells” and “I’ve got the perfect set.” When you’ve got those numbers on paper, the rest of the selection process becomes a quick match‑up, not a guessing game.
Step 3: Explore Adjustment Mechanisms and Features
Now that you know how much weight you’ll need, it’s time to dig into the nuts‑and‑bolts of how the dumbbells actually change. The adjustment mechanism is the heart of the experience – get it right and you’ll breeze through supersets; get it wrong and you’ll waste seconds wrestling with a stubborn pin.
Dial, Pin, or Lever – which feels natural to you?
Dial‑type systems spin a knob at the end of the handle. Most of us notice the satisfying click when the weight locks into place. If you love moving fast between 15 lb and 20 lb during a HIIT circuit, the dial’s quick‑turn action keeps the flow alive.
Pin‑selector models require you to pull a small metal pin, slide it to the next slot, and release. The pin gives a tactile “pop” that many strength‑focused trainers swear by – it feels solid, especially when you’re loading up to 45 lb for a heavy goblet squat.
Lever mechanisms work a bit like a bike shifter: push or pull a lever and the weight snaps into the new setting. They’re often the most intuitive for beginners because the motion mimics a simple “up‑or‑down” motion.
Real‑world tip: Sarah, a physiotherapist in Vancouver, prefers the dial because she can shift from 5 lb to 12 lb during a rehab circuit without breaking her concentration. Meanwhile, Mike, a travelling personal trainer, relies on the pin because it stays locked even when the dumbbell bumps against a client’s bench.
Safety and Locking Features
Whatever mechanism you choose, make sure there’s a secure lock. A loose pin can slip mid‑rep, and a dial that doesn’t fully engage can wobble, increasing injury risk. Here’s what to test in the store or at home:
- Give the handle a firm shake after adjusting – the plates should stay put.
- Listen for a clear click or click‑stop; a muted sound often means the lock isn’t fully engaged.
- Check that the lock can’t be disengaged unintentionally by a quick motion.
When you’ve confirmed a solid lock, you’ll feel a surge of confidence that lets you focus on the lift, not the hardware.
Grip, Ergonomics, and Feel
The handle’s shape, texture, and diameter play a huge role in how natural the dumbbell feels during a set. A knurled rubber grip absorbs sweat and prevents slippage, while a slightly thicker handle can ease wrist strain for rehab work.
Try holding the dumbbell for 30 seconds with a light weight. If your hand cramps or the grip slides, that model isn’t right for you. For fast‑tempo circuits, a slimmer, smooth‑finish handle reduces “hand‑fatigue” and lets you transition between exercises without readjusting your grip.
Durability – materials that stand the test of time
Most adjustable dumbbells use steel plates with a rubber or urethane coating. Steel gives you the raw strength you need for heavy lifts, while the coating protects your floors and your hands.
Urethane is pricier but won’t leave black marks on hardwood. Rubber is more affordable and offers a softer feel, but it can compress over years of use. If you plan to travel with your dumbbells, look for a corrosion‑resistant finish – a simple wipe‑down after a sweaty session keeps the metal from rusting.
Actionable Checklist – test before you buy
Grab a pen and run through these steps while you’re in the showroom or unboxing a new set:
- Choose the adjustment mechanism that matches your training rhythm (dial for speed, pin for security, lever for simplicity).
- Adjust the weight up and down three times; each click should feel firm and silent.
- Shake the dumbbell; plates must stay locked.
- Grip the handle for a minute; note any slipping or uncomfortable pressure points.
- Inspect the coating – is it rubber, urethane, or bare steel? Consider floor type and travel frequency.
- Read the warranty: a solid 2‑year or longer warranty often signals a manufacturer’s confidence in durability.
By the end of this quick audit, you’ll have a clear picture of whether the mechanism feels like an extension of your own body or a clunky add‑on. Remember, the best adjustable dumbbells are the ones that let you focus on the lift, not the lock.
Once you’ve nailed down the mechanism, the rest of your decision – weight span, space, price – slots into place like a puzzle piece. That’s the magic of a well‑thought‑out adjustment system: it turns “choosing adjustable dumbbells” from a guess‑work exercise into a confident, data‑driven choice.
Step 4: Compare Top Models – Data Table Overview
Alright, you’ve already tested the dial, the pin, the lever – now it’s time to line up the actual models side by side. Think of it like a quick coffee chat with three friends who all claim they’re the best fit for your routine. You’ll spot the subtle differences that matter, and you’ll walk away with a clear picture of which one actually earns a spot on your floor.
First, grab a sheet of paper or open a notes app. Jot down the three criteria we keep coming back to: weight span, how the adjustment feels in real time, and the overall ergonomics. That’s the trio that decides whether you’ll spend minutes tweaking a set or seconds swapping plates between supersets.
What to look for at a glance
Here’s a cheat‑sheet table that distills the most common questions into bite‑size facts. It’s not a sales pitch – it’s a decision matrix you can actually use while you’re in the showroom or scrolling through product pages.
| Model | Weight Range | Adjustment Mechanism | Key Pro/Con |
|---|---|---|---|
| Core Home Fitness Adjustable Dumbbell Set | 5–50 lb (5‑lb increments) | Twist‑handle dial | Fast adjustment; comfortable rubber grip; longer lock‑time at max weight |
| PowerBlock Elite USA 5‑50 Stage 1 | 5–50 lb (5‑lb steps, optional 2.5‑lb add‑ons) | Two‑pronged selector pin | Compact boxy shape; very durable; pin can feel finicky for quick changes |
| MX Select MX55 Rapid Change | 10–55 lb (2.5‑lb increments possible) | Release‑button + knob on each side | Precise small increments; knob can stick; sturdy powder‑coated cradle |
Notice how each model trades off something? The Core set wins on speed but sticks a bit when you’re at the top of the range – a quirk mentioned in a New York Times Wirecutter review. PowerBlock’s pin feels solid, yet you might lose a second or two hunting for the right slot during a fast HIIT circuit. MX’s knob gives you those 2.5‑lb steps you love for rehab work, but the extra click can add a tiny pause.
So, what does that mean for you? If you’re a personal trainer hopping between client homes, you probably value speed and a compact footprint – the Core set or PowerBlock will feel less bulky than the MX’s slightly longer cradle. If you’re a physiotherapist fine‑tuning a shoulder rehab progression, those 2.5‑lb increments on the MX can be a game‑changer.
Quick checklist while you compare
1. Does the weight span cover your current max and a future buffer?
2. Can you hear a clear click or feel a solid lock when you adjust?
3. How does the handle feel in your hand after a minute of gripping?
Answering those three questions with the table in front of you will turn a vague feeling into a concrete decision. You’ll know whether you’re choosing a dumbbell because it truly fits your training rhythm, or because a glossy photo looked good.
And remember, the best choice isn’t the one with the most features – it’s the one that slips into your routine without you having to think about it. When you line up the specs, imagine yourself doing a set of bicep curls, then flipping to a shoulder press. Which model lets you make that switch without a pause?
Take a moment now, fill in the three rows with your own notes, and you’ll have a mini‑comparison chart that’s ready to guide your purchase. No more second‑guessing at checkout, just a confident click‑through to the set that feels like an extension of your own body.
Step 5: Check Brand Reputation, Warranty, and Customer Support
Alright, you’ve narrowed down the mechanics and the weight span – now it’s time to make sure the company behind the dumbbells won’t disappear after you’ve paid. In plain English, a solid brand, a clear warranty, and responsive support are the safety net that turns a good purchase into a great one.
Why brand reputation matters
Think about the last time you bought a piece of tech that broke after a month. Did you feel a twinge of regret? The same feeling shows up with fitness gear. A reputable brand usually means better materials, consistent quality control, and a community that’s actually using the product.
Consumer Reports ran a hands‑on test of the top adjustable dumbbells and highlighted how brands that score high on durability also tend to back their gear with longer warranties and clearer return policies Consumer Reports review. That data point is a quick shortcut: if a brand makes the cut in an unbiased lab, you’re probably safe.
So, ask yourself: does the company have a track record of positive reviews from physiotherapists, personal trainers, and everyday home‑gym owners? A quick scroll through Canadian fitness forums or the FitCore Supply community can give you the vibe you need.
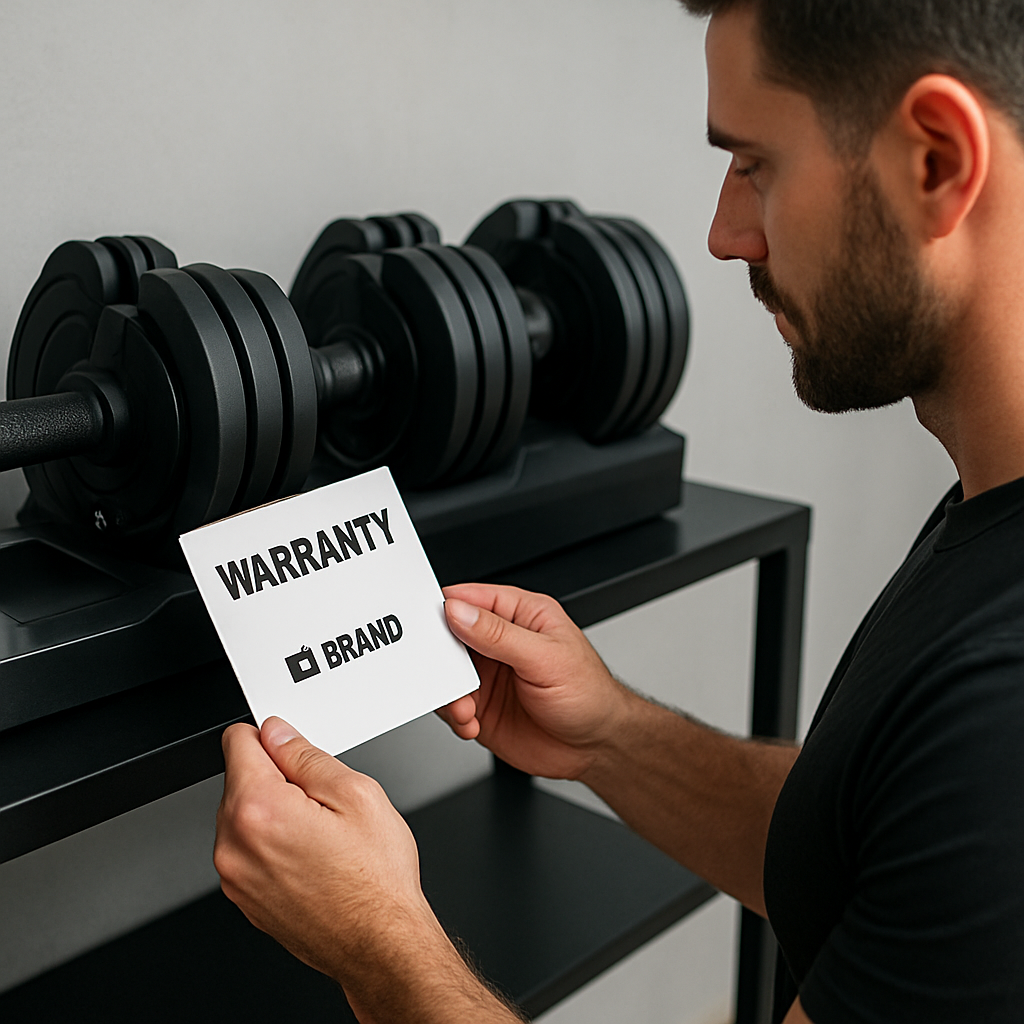
Read the warranty fine print
Warranties aren’t just legal fluff. They’re the manufacturer’s confidence in their engineering. Look for at least a two‑year limited warranty that covers the frame, the adjustment mechanism, and the weight plates. If the warranty says “parts only” and excludes the dial or pin, you might be left holding a half‑functional dumbbell.
Here’s a quick way to decode it:
- Coverage period – 2 years or more is the sweet spot.
- What’s covered – frame, plates, mechanism, and any coating (rubber/urethane).
- What’s excluded – accidental drops, misuse, or normal wear‑and‑tear.
- Claim process – does the brand require a photo, a receipt, or a RMA number?
If a brand offers a “no‑questions‑asked” replacement within the warranty window, that’s a huge confidence boost. On the flip side, a vague “subject to manufacturer’s discretion” clause usually means you’ll be chasing support for weeks.
Test the customer support experience
Before you click “add to cart,” fire off a quick email or live‑chat with the support team. Mention a hypothetical issue – maybe a stuck dial or a missing weight plate – and see how fast they reply.
Do they use your name? Do they give a step‑by‑step troubleshooting guide? Do they offer a phone number you can actually call, or just a generic “support@…” address? Those tiny details reveal how much they value post‑sale relationships.
Personal trainers we’ve spoken to often say that a brand’s support can save them an entire workout if a dumbbell fails mid‑session. A responsive team that ships a replacement part within 48 hours can be the difference between a client’s progress staying on track or stalling.
Quick checklist – brand, warranty, support
Grab a pen and run through these three columns before you finalize your choice:
- Brand reputation: Look for independent reviews, community endorsements, and a history of product updates.
- Warranty details: Minimum 2 years, covers frame + mechanism, clear claim steps, and a hassle‑free replacement policy.
- Customer support: Test response time, tone, and availability (live chat, phone, email). Note if they provide a dedicated warranty portal.
If you can tick all three boxes, you’re set to make a purchase that won’t haunt you later.
And remember, the goal of this step isn’t just to avoid a bad purchase – it’s to give you peace of mind so you can focus on the lifts, not the paperwork.
Bottom line: when you’re figuring out how to choose adjustable dumbbells, treat brand reputation, warranty, and customer support as the three pillars that hold up the whole structure. A strong foundation means you’ll keep training, keep progressing, and keep smiling every time you pick up that dumbbell.
Step 6: Test Ergonomics, Grip Comfort, and Ease of Use
Alright, you’ve narrowed down the weight span and the adjustment mechanism. Now it’s time to get your hands dirty – literally – and see how the dumbbell feels when you actually lift it.
Why ergonomics matter more than you think
Imagine you’re in the middle of a 12‑minute HIIT circuit and the handle starts to slip. One tiny wobble can turn a solid rep into a bruised wrist, and suddenly the whole workout feels off. That’s why the grip, the balance, and the overall ergonomics are the silent coaches that either push you forward or hold you back.
Studies from fitness labs show that a well‑designed grip can improve force production by up to 8 % because your fingers aren’t fighting the handle. In plain English: a comfortable grip lets you lift more, faster, with fewer micro‑injuries.
Step‑by‑step test you can do at home or in the showroom
1. Grab the lightest setting. Hold the dumbbell for 30 seconds with a neutral grip. Does your palm feel cramped? Is the texture too slick or overly rough? Jot down any odd sensations.
2. Shift up two increments. Without stopping, adjust the weight (dial, pin, or lever) and repeat the 30‑second hold. Notice if the balance changes – a well‑balanced dumbbell should feel like an extension of your forearm, not a wobbling hammer.
3. Perform a full‑range movement. Do ten reps of a bicep curl, then ten reps of a shoulder press. Pay attention to how the handle rotates (or stays still) in your hand. Any slipping or pinching? Those are red flags.
4. Shake test. After adjusting, give the dumbbell a firm shake. The plates should stay locked. If you hear clanking, the lock isn’t solid enough for heavy‑day work.
5. Temperature check. After a sweaty set, wipe the handle with a towel. Does the grip stay dry, or does it turn slick? A non‑slip coating is a lifesaver for hot sessions.
Real‑world examples that illustrate the difference
Take Maya, a physiotherapist who uses adjustable dumbbells for shoulder rehab. She prefers a slightly thicker, rubber‑coated handle because her clients often have swollen wrists. When she tried a slim‑metal grip, the clients complained of discomfort after the first set, and she switched back to a rubber‑textured model.
Then there’s Jake, a personal trainer who travels between client homes. He loves a compact pin‑selector that locks with a “click‑pop.” During a client’s outdoor boot‑camp, the dumbbell bumped the bench – the pin stayed put, and the client finished the circuit without a pause. If the lock had given, the whole session would have been derailed.
What to look for in the grip material
Rubber offers a soft, sweat‑absorbing feel but can compress over years. Urethane feels a bit firmer and leaves no black marks on hardwood floors – great for condo dwellers. Some premium sets use a hybrid: a rubber core with a urethane skin, giving you the best of both worlds.
Also, check the diameter. A 30‑mm handle is typical for most users, but a 32‑mm grip can reduce wrist strain for rehab work. If you’re a speed‑oriented athlete, a slimmer 28‑mm handle lets you transition between movements without re‑gripping.
Quick checklist – ergonomics edition
Grab a pen and run through these points while you’re testing:
- Grip texture: rubber, urethane, or hybrid?
- Handle diameter: does it feel natural for your hand size?
- Balance: does the dumbbell feel even from the wrist to the tip?
- Lock security: a shake test should produce no movement.
- Post‑sweat feel: does the grip stay dry enough?
If you can answer “yes” to most of these, you’ve got a winner.
Putting it all together
When you combine the ergonomic test with the earlier steps – weight range, adjustment mechanism, brand reputation – you end up with a holistic picture of how the dumbbell will live in your daily routine. The goal isn’t just to avoid a dumbbell that feels “off”; it’s to pick a tool that fuels your progress, whether you’re coaching clients, rehabbing a shoulder, or crushing a solo HIIT session.
So, what’s the next move? Grab the pair you’re leaning toward, run the five‑step test, and trust the data you collect. If the handle feels like an extension of your hand, the lock stays locked, and the balance stays steady, you’ve just nailed the ergonomics check – and you’re one step closer to a purchase that feels right from the first rep.
Conclusion
We've walked through everything from your why to the grip test, so by now you should feel confident about how to choose adjustable dumbbells that actually work for you.
Remember the three questions that kept popping up: Does the adjustment feel fast enough for your HIIT flow? Does the lock stay solid when you shake it? And does the handle feel like an extension of your hand, not a nuisance?
If you can answer “yes” to those, you’ve already filtered out the noisy options and landed on a set that will grow with your goals—whether you’re a personal trainer hopping between client homes, a physiotherapist fine‑tuning rehab progress, or just someone who wants a compact kit for after‑work workouts.
So, what’s the next move? Grab the pair that passed your five‑step test, set it up in your space, and give it a real‑world trial week. Take note of how it feels during warm‑up, the main set, and the cool‑down.
If anything feels off, go back to the checklist and adjust your criteria. The right dumbbells won’t just sit in a corner; they will become a reliable part of every session.
At FitCore Supply we’ve seen these small tweaks make a big difference, and we’re always happy to answer a quick question if you hit a snag. Happy lifting!
FAQ
How do I know which weight range is right when I’m trying to figure out how to choose adjustable dumbbells?
Start by estimating the heaviest load you’ll ever need and then add a safety buffer of about 10‑15 %. For a beginner who’s staying under 30 lb, a 5‑50 lb set with 5‑lb steps is plenty. If you coach clients who eventually lift 45‑50 lb, choose a model that tops out at 60 lb or offers smaller increments so you can fine‑tune progress. In short, match the max weight to your long‑term goals, not just today’s routine.
What adjustment mechanisms are best for fast HIIT workouts versus rehab sessions?
Dial‑type handles click fast, so they’re perfect when you’re sprinting through supersets or HIIT circuits – you can flip from 15 lb to 20 lb in a single turn without breaking flow. Pin‑selectors, on the other hand, give a solid “pop” that many rehab therapists love because the lock stays put even if the patient’s arm trembles. Lever systems sit in the middle, offering decent speed and a tactile feel that works for most everyday strength work.
How important is the grip material and handle diameter for different users?
A rubber coating feels soft and absorbs sweat, which is a lifesaver for high‑rep circuits where your hands get slippery. Urethane stays dry longer and won’t stain hardwood floors, making it ideal for condo apartments. Handle diameter matters too: a 30‑mm grip is comfortable for most adults, but a slightly thicker 32‑mm bar reduces wrist strain during rehab curls, while a slimmer 28‑mm shaft speeds up transitions for fast‑tempo lifts.
Can I rely on a compact 4‑in‑1 set if I have limited space but still want to progress?
Space constraints don’t have to limit progression. A 4‑in‑1 set that folds into a compact box can still offer a 5‑50 lb range with 5‑lb steps, which covers most home‑gym needs. If you anticipate needing finer jumps, look for a model that adds 2.5‑lb plates as an optional accessory – it keeps the footprint tiny while letting you keep climbing the weight ladder as you improve.
What should I look for in the warranty and customer support before buying adjustable dumbbells?
First, check that the warranty covers both the frame and the adjustment mechanism for at least two years – that’s the industry baseline for durability. Look for a “no‑questions‑asked” replacement policy and a clear RMA process; a simple online portal saves you time if a pin ever sticks. Finally, test the support team with a quick chat before you buy; a friendly, knowledgeable reply is a good predictor of post‑sale help.
How often should I test the lock and plates to make sure my dumbbells stay safe?
Give each pair a quick shake after every adjustment and listen for any rattling – that’s the easiest way to catch a loose plate before you start a set. Do a weekly “lock‑check” where you turn the dial or slide the pin three times and verify the click feels firm each time. If you notice any wobble, tighten the screw or contact support right away; a small issue can become a safety risk fast.
Are there any red flags that indicate a dumbbell set isn’t built for frequent travel?
A common red flag is a bulky cradle that forces you to grip the plates instead of the handle – that usually means the weight distribution isn’t balanced for travel. Also watch out for plastic pins that feel flimsy; they tend to wear out after a few hundred reps and can snap mid‑workout. Finally, if the weight plates are coated only in cheap rubber that cracks easily, the set will look messy in a duffel and may damage other gear.